
Affiliate disclosure: This article contains paid links to Amazon. As an Amazon Associate I earn from qualifying purchases.
To remove embedded dog hair from cloth car seats, start with a dry vacuum, loosen the remaining hair with a fabric-compatible rubber tool using light pressure, then vacuum the small piles you create. Work in sections and test the tool first. If the fabric starts to fuzz, snag, or change appearance, stop. Your vehicle’s cleaning instructions take priority over any general method.
This guide focuses on the awkward situation where the seat looks cleaner after vacuuming but short hairs still poke through the weave. It is a practical workflow for ordinary cloth upholstery, not a treatment for stains, odors, allergies, or damaged seat material. Leather, suede-like trim, headliners, and delicate inserts need their own care instructions.
Quick plan: vacuum → loosen → collect
Try the vacuum you already own before buying equipment. If embedded hair remains in sturdy cloth, a small rubber detailer is a reasonable tool to investigate. The important checks are surface compatibility, a comfortable grip, and controlled access to tight areas.
Compare Lilly Brush detailers on Amazon (paid link)
Opens Amazon.com search results. Check the exact tool, seller, current instructions, and delivery eligibility. We have not verified current Amazon stock or tested this tool on your car.
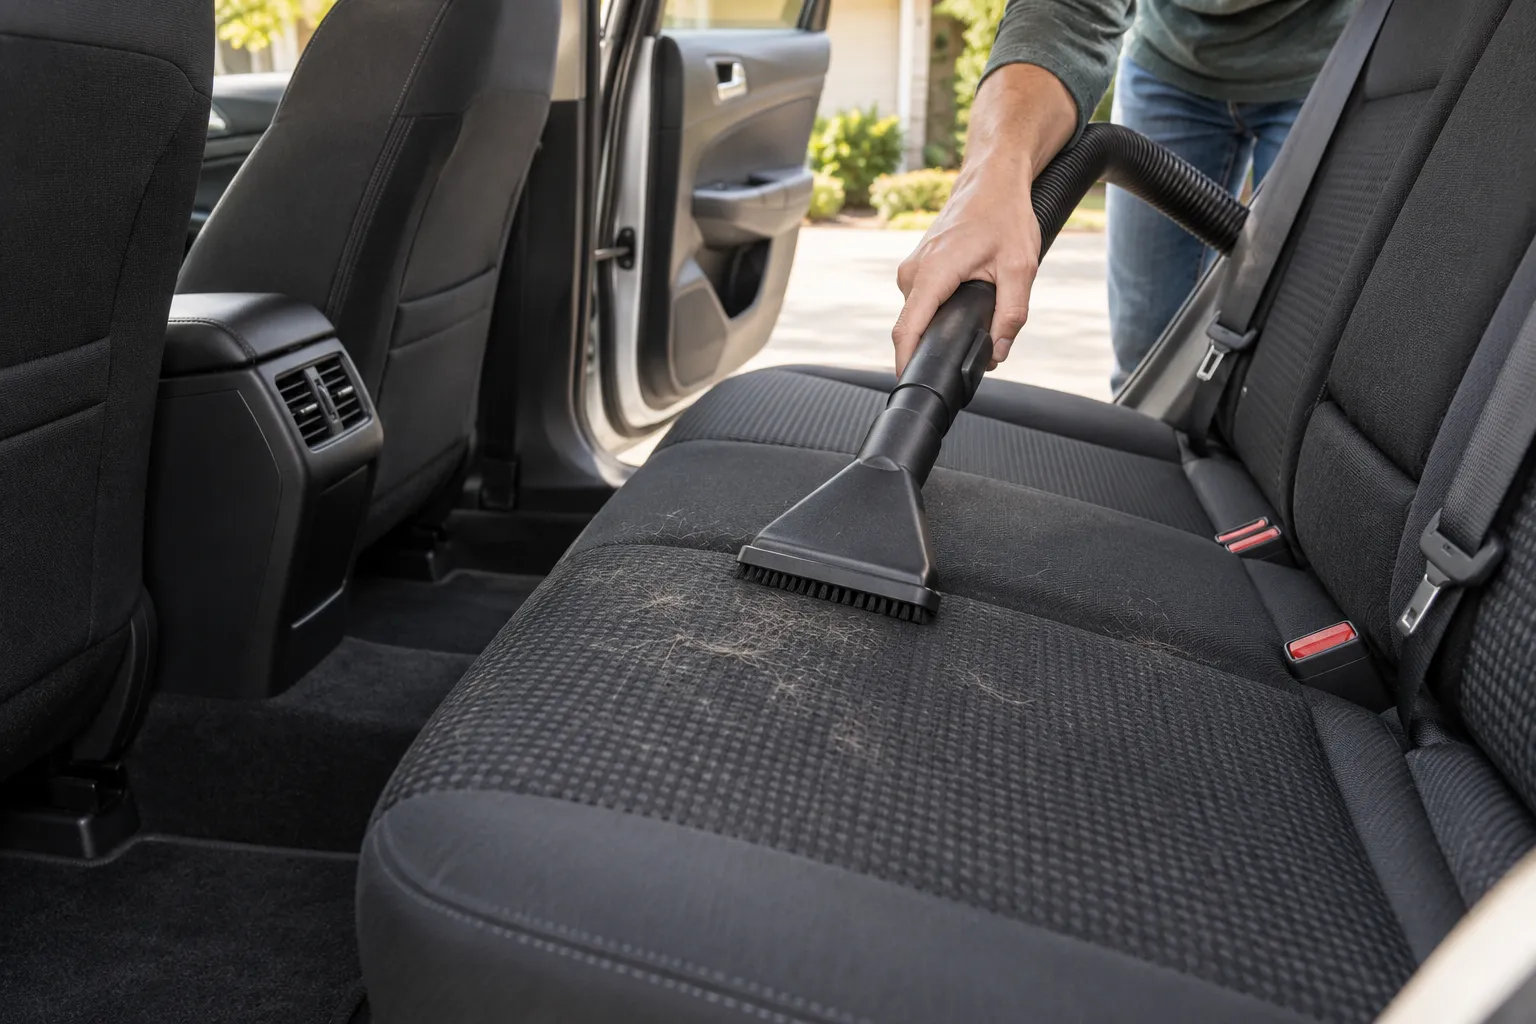
First, decide whether the hair is loose or embedded
Loose hair sits on the surface and usually moves when the vacuum passes over it. Embedded hair appears caught between fabric threads. Treating both the same way can lead to unnecessary repeated scrubbing. After an initial vacuum pass, look closely at one small area under good light. If the remaining strands lift easily with a gentle fabric-compatible tool, continue in that section. If they seem tangled into worn fibers, avoid pulling harder.
Notice the seat construction as well as the hair. A woven center panel may be bordered by smooth synthetic trim, stitched piping, or a different fabric. A tool suitable for one panel is not automatically suitable for its neighbor. Make a mental map of the surfaces before starting, and keep the rubber edge away from areas you have not checked.
Gather a small cleaning kit
You do not need a drawer full of gadgets. Set out a vacuum with an upholstery nozzle and a narrow crevice attachment, a clean microfiber cloth, a bag for collected hair, and an optional rubber hair-removal tool labeled for the fabric you intend to clean. Good lighting helps you see whether the tool is lifting hair or disturbing the seat itself.
Inspect every tool before it touches the car. Remove grit from the nozzle and check the rubber edge for damage. A dirty attachment can introduce debris while you are trying to remove it. Keep a second clean cloth nearby for wiping the tool according to its instructions; do not use the same cloth for a dirty floor mat and a seat insert.
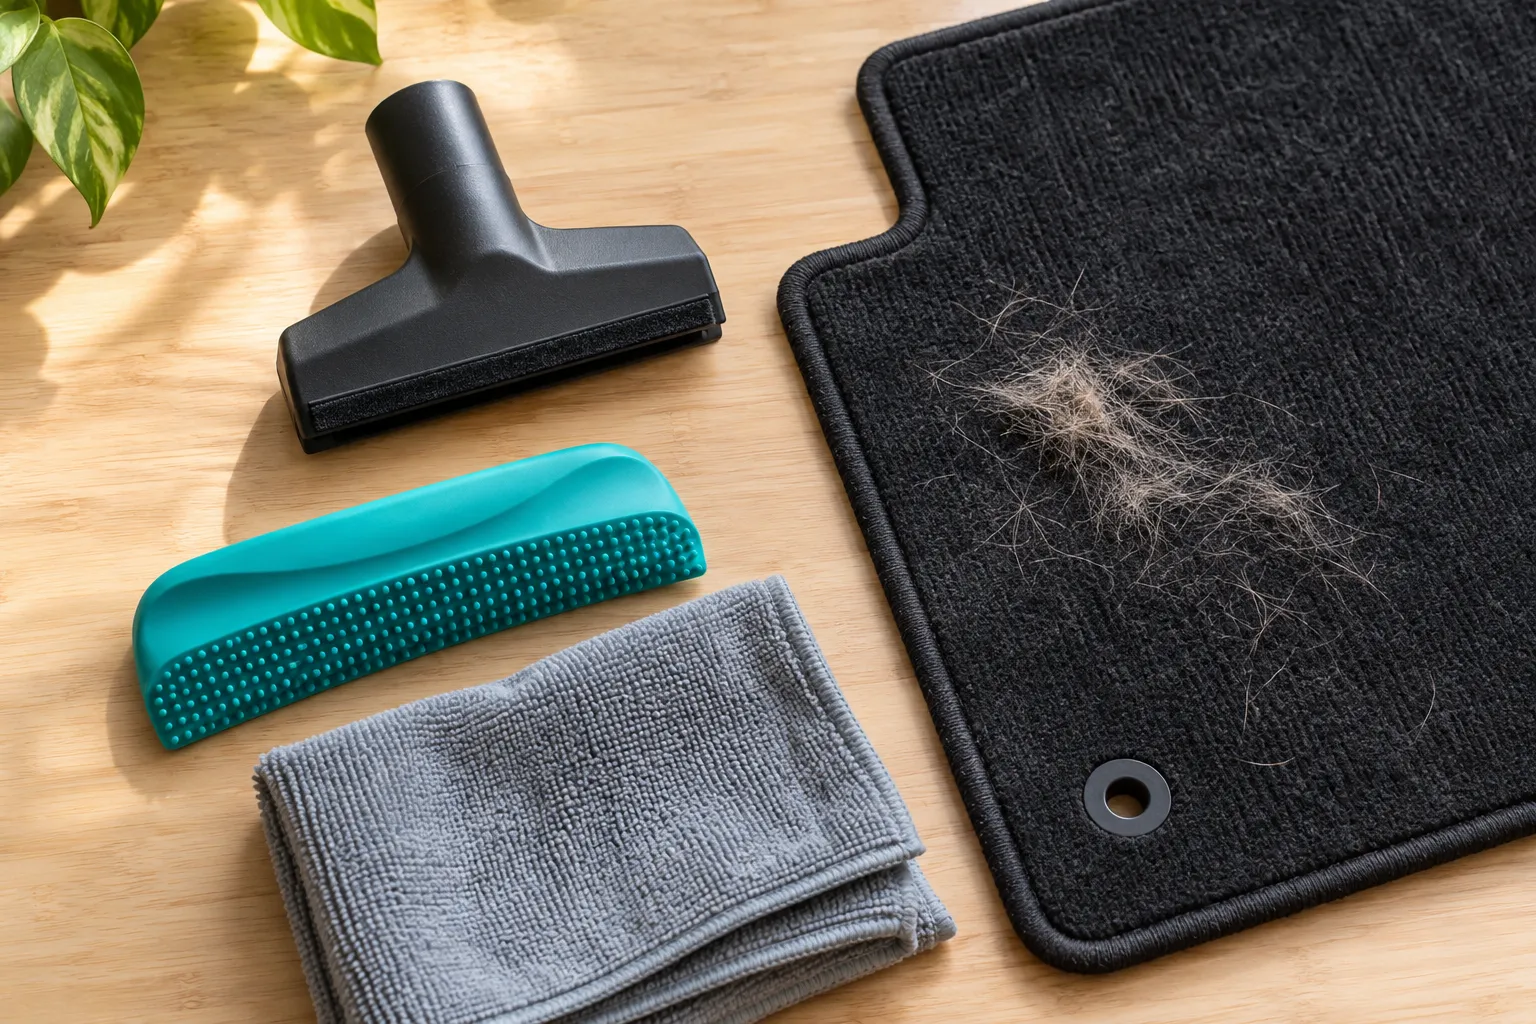
A step-by-step workflow for cloth seats
1. Park, clear the seat, and read the care instructions
Work while the vehicle is parked and the pet is elsewhere. Remove loose belongings so you can see the whole cushion. Take out a removable pet cover separately, following its washing label. If a child restraint is fitted, follow that product’s instructions for removal and refitting; do not improvise around its harness or attachments just to reach a few hairs.
Look up the upholstery-care section for your vehicle and model year. Check whether the cloth has special treatment or whether the seat contains components that affect cleaning. This dry workflow does not require soaking, removing seat assemblies, or disconnecting anything beneath them. Leave wiring, seat tracks, airbag seams, and connectors alone.
2. Vacuum loose debris before using a rubber tool
Use the upholstery nozzle on the flat cushion and backrest. Move steadily enough to collect visible hair rather than brushing it across the seat. Clean one section before moving to the next. Empty the vacuum or clean its filter as its manual requires if suction has dropped; adding a new hair tool will not fix a clogged machine.
Use the crevice attachment at accessible gaps, but do not force it into mechanisms or press a hard edge against trim. Keep the nozzle where you can see it. Move loose hair out of an ordinary fabric fold gently rather than digging blindly underneath the seat. If a gap cannot be reached without disturbing hardware, leave it for an appropriate professional.
3. Test the rubber edge on a hidden cloth area
Choose a small inconspicuous patch of the same material you will clean. Follow the tool maker’s directions and make a few gentle strokes. Inspect the cloth from more than one angle. Watch for lifted threads, pilling, snagging, color change, or scuffing. A test on floor carpet does not establish compatibility with seat fabric.
If the material looks unchanged and hair starts to gather, continue cautiously. If the tool catches or requires force, stop and reconsider the method. Increasing pressure is not a reliable solution. A seat that is already frayed, repaired, or unusually delicate is a good reason to ask a detailer about the surface before working further.
4. Loosen hair in small sections
Work on a manageable patch instead of sweeping across the whole bench. Use short strokes and light pressure, following the tool instructions. Gather hair toward an open part of the cushion where the vacuum can collect it. Keep the tool on the tested fabric and avoid running its edge over stitching, piping, smooth trim, or decorative inserts.
Try a gentle change of direction if the first pass leaves strands behind, then inspect again. You are looking for hair that releases without visible disturbance to the weave. Do not keep scraping the same spot because it still contains a few strands. Clean dust from the tool as directed so you can judge its behavior consistently.
5. Vacuum each small pile immediately
Collect the gathered hair before it spreads onto the next panel. Repeat the loosen-and-collect process section by section. Keeping piles small also makes it easier to see what you have finished. Brush or wipe the attachment itself as recommended if hair has accumulated around its opening.
After the cushion, inspect the backrest and accessible folds. Give the finished seat a final vacuum pass. Then examine it in daylight or from a different viewing angle. A few remaining hairs are not a reason to escalate to an abrasive method. Stop when further work would create more risk to the fabric than benefit.
6. Finish the surrounding area and refit items correctly
Vacuum accessible floor areas and clean removable mats separately according to their material and care directions. Wipe loose hair from compatible hard surfaces with a clean cloth. Avoid pushing hair into vents or switches. Do not blast the dashboard with compressed air as a substitute for controlled collection.
Before driving, put mats back in their correct locations and secure their retention points. Check that nothing interferes with pedals or seat movement. Refit any cover or restraint according to its instructions and check that buckles remain accessible. Keeping the interior usable matters more than achieving a photograph with no visible strand.
Choose the tool by the job, not the marketing headline
| Tool | Job to consider | Main check |
|---|---|---|
| Upholstery vacuum nozzle | Loose surface hair and collected piles | Clean edge, suitable attachment, clear airflow |
| Small rubber detailer | Remaining hair in tested sturdy cloth | Fabric compatibility and light pressure |
| Crevice attachment | Visible, accessible gaps | Keep away from wiring and mechanisms |
| Microfiber cloth | Loose hair on compatible smooth trim | Clean cloth and approved care method |
| Lint roller | Light surface touch-ups on approved fabric | Adhesive suitability; avoid fragile finishes |
Tool to investigate: Lilly Brush Mini Blade / Mini Pet Hair Detailer
Lilly Brush’s current Mini Blade page describes a compact tool aimed at short-to-medium hair embedded in fabric. Its FAQ still refers to the Mini Pet Hair Detailer and describes using a rubber edge to gather hair. These names are useful search terms when comparing listings.
Why consider it: A small manual tool may help you work on a tested section where the vacuum has left hair behind. Before ordering: Match the actual product and instructions. Manufacturer fabric claims do not establish compatibility with every vehicle surface. This is a research-based suggestion, not a hands-on review or a measured performance ranking.
Methods to leave out of your first attempt
Avoid starting with household fabric softener, dryer sheets, scented sprays, or a homemade chemical mixture. Hair removal does not automatically require a liquid, and the fact that a product is used on laundry does not establish that it is approved for your seat. If stains remain after hair removal, choose a separate cleaning process supported by the vehicle’s care instructions.
Also avoid treating a pumice stone, metal scraper, or stiff household brush as a universal solution. The potential for abrasion is an unnecessary tradeoff when the task is simply gathering hair. Do not transfer a method that seems effective on a removable carpet mat to a seat cushion, leather border, or headliner.
Keep soaking and steam cleaning out of this basic workflow. They introduce a different cleaning task and need equipment-specific and vehicle-specific instructions. If you are unsure about heated or ventilated seats, glued fabrics, or previous repairs, ask a qualified detailer rather than guessing from an online video.
When the remaining hair will not release
Pause and inspect the problem. Is the vacuum collecting loose material elsewhere? Is the tool edge clean? Are the strands caught in an already damaged area? Those questions help you choose the next step without repeatedly attacking the same patch. You can try another gentle direction on a tested surface, but stop if improvement stalls.
Take a clear photograph and show it to a detailer along with the vehicle model and upholstery type. Ask what process they propose, whether they have experience with that material, and how they protect surrounding components. Get a quote for your actual condition. A generic price range online cannot tell you what your particular seat will cost to clean.
Keep the next cleanup manageable
Remove loose hair after pet trips when practical, before the seat becomes heavily covered. Keep a small kit together so a short cleanup does not require hunting for attachments. A routine based on how much hair you actually see is more useful than a rigid promise that every car needs the same weekly or monthly schedule.
A removable cover can make cleanup simpler if it fits correctly and is compatible with the vehicle and your restraint setup. Check that it does not interfere with seat-mounted airbags, buckles, or other safety features. Follow its cleaning label and refit it properly. A cover protects a surface; it does not replace an appropriate pet restraint.
Keep transport gear clean too. Hair on a blanket or carrier can return to a freshly cleaned seat. Clean removable accessories separately, let washed items dry as their labels require, and store the car-cleaning tools away from grit. Check the seat at the end of a trip so you can catch new buildup early.
Frequently asked questions
Why does dog hair stay after vacuuming?
Some strands are caught in the fabric rather than lying loose on top. Check a small area before assuming you need a stronger vacuum. A compatible rubber edge may help release those strands, but the condition and weave of the upholstery still determine how gently you need to work.
Can I use the same method on leather?
Do not use this cloth-seat rubber-tool workflow as leather-care guidance. Start with the vehicle’s instructions for leather or synthetic trim and a suitable clean attachment or cloth. Do not scrape smooth surfaces simply because the neighboring cloth panel tolerated the tool.
Should I dampen the seat to make hair easier to remove?
This workflow begins dry. If a tool maker specifies cleaning its edge with a damp cloth, that is different from wetting the upholstery. Follow the relevant instructions and keep liquids away from areas where the vehicle manual does not permit them.
Do I need a new pet vacuum?
Not necessarily. Try a maintained vacuum with appropriate attachments first. If it cannot collect loose hair, check its filter, container, hose, and manual. If it collects loose hair but leaves embedded strands, the next useful purchase may be a compatible manual tool rather than another machine.
Does removing visible hair make the car allergy-safe?
This article does not establish an allergy-safe result or measure airborne particles. Visible hair removal is a cleaning task. If a passenger has health concerns, do not use a tidy-looking seat as proof that a particular exposure is safe.
Sources and editorial method
We used manufacturer guidance to check the basic cleaning order and tool identity. Ford recommends vacuuming interior surfaces and describes upholstery and crevice attachments; it also cautions against excessive pressure on leather and directs owners to their own manuals. Lilly Brush describes vacuuming before its vehicle detailers and using light, short strokes. The section-by-section plan above is our practical organization of those ideas, with surface checks throughout.
Related shopping guide: Compare pet hair removal tools for the car. Use the surface and compatibility checks here before choosing a tool.